Pin It

Saturday, April 4, 2015

Easy No Sew Soccer / Cheerleader Hair Bows

Easy No Sew Soccer / Cheerleader Hair Bows 


It is that time of year again. In our house spring means the start of another soccer season. Our girls are playing on 2 different soccer teams this season. I thought I would share the quick and easy no sew, step by step instructions to making cute hair bows. These hair bows look great whatever they are doing whether it is cheerleading or soccer.

Here are the cast of characters:

  • Fabric 3 different colors. (Our team colors are black and red and the other team colors are blue and gold. However, I always use a silver shine fabric also.)
  • Pack of ponytails
  • Ruler
  • Scissors


I'm sure you are wondering how much fabric do you need????? Well, that depends on how many hair bows you are making. If you are making 1 or 20.

I will give you a way to estimate the amount of fabric you need later in the post.

I take a ruler and measure strips of fabric 2 inches wide by 14 inches long.


I then cut those strips in half so I end up with a piece of fabric 2 inches wide and 7 inches in length.


I use 4 strips of each color on each ponytail. So there is a total of 12 stipes of fabric on each hair bow.


This really couldn't get any easier. Now, all you do is take a strip of fabric, fold it in half lengthwise and knot (tie) it around the ponytail.


I usually put 4 of the same color fabric on a ponytail then go on to the next color. It helps me keep track.


I made 16 hair bows and I bought 1.5 yards of fabric and had a lot left over.


A way of estimating the amount of fabric is to think you need 4 inches in width. So a yard of fabric should give you at least 15 hair bows.

This bow is from last year. 


I always buy more ponytails, just in case one breaks. I never have used the ponytails from Dollar Tree. I've had packs that break easily and other packs from there that last forever. It is to hit or miss for me to use them when making these.


I hope you make these cute hair bows for your team. If you have any questions please feel free to ask.


Thanks,

Mrs. Fife

Friday, February 20, 2015

Cheap Homemade Laundry Detergent Recipe

Homemade Laundry Detergent Recipe

I have 3 young kids and getting their clothes clean is a full time job. I have tried every type and price point of laundry detergent. Some work better than others. When I heard about homemade laundry detergent I thought why not give it a try? There is a total bonus to homemade laundry detergent it is cheaper and better than any of the brands out there. So I was intrigued and decided to make my first batch. The verdict is.....  I LOVE it!!! I made some changes and I thought I would share the recipe on my blog. So here it is, believe me your dirty clothes will never come so clean. 

The Cast of Characters:

1 bar of Fels-Naptha **
1 & 1/4 cup Arm & Hammer Washing Soda  (NOT baking soda)  **
1 & 1/4 cup Borax **
1 bottle of Arm & Hammer Liquid Laundry Detergent (Optional)
5 gallon bucket with lid (A few dollars at Home Depot, Wal-Mart might also carry them)
3 Gallons of hot water
3 Cups of hot water


You will also need:


Saucepan (I got mine from the Goodwill and only use it to make laundry soap.)
Grater (I bought it at Dollar Tree and I only use it when I make laundry soap.) 
Long spoon (I only use this when making laundry soap. Do you see a pattern forming here?)

** All of these items can be found in the same spot as the laundry detergent at most stores. I buy mine at Wal-Mart. 

Grate the entire bar of Fels-Naptha.


Add 3 cups of hot water to the sauce pan on medium to low heat. Slowly add the grated Fels Naptha to the hot water. Stir, stir, stir, stir. Did I mention you need to stir it? I use the long wooden spoon to stir the mixture.


 Keep adding more and more of the Fels-Naptha until it is all melted in the liquid. You can't walk away from this mixture, you need to keep an eye on it. When it is all melted turn the heat off.


 Add 3 gallons of hot water to the 5 gallon bucket. 


Then add the melted Fels-Naptha mixture.


 Stir the hot water and melted Fels-Naptha. Add in 1 & 1/4 cup of washing soda. Stir the mixture. Add 1 & 1/4 cup of Borax to the mixture and stir for 2 minutes. Put the lid on and let it sit overnight. 


It will be thick like a jello in the morning. Mix the soap with the spoon and it will be lumpy like a soup. It won't be liquid like traditional liquid detergent. I use a cup/lid from a detergent bottle. 1 cup/lid full per load is what I use. 


Here is the optional part that I do with every batch I make.

Make the detergent as above. In the morning after the mixture has set overnight, when you are stirring with the spoon add a full bottle of Arm & Hammer liquid laundry detergent. I use the kind that has OxyClean in it and think it works the best. I think it gets the clothes cleaner than any other brand. It costs less and lasts longer. 

Here is how it looks with the Arm & Hammer liquid laundry detergent added. 


I hope you make a batch and like it as much as I do. 

Mrs. Fife


Sunday, December 14, 2014

Veggie Pizza Easy Recipe

Veggie Pizza

We love this as a side dish or an appetizer. I take this to parties and pot luck dinners all the time. It is so simple and everyone loves it. 

Here is the cast of characters:


3 Packages of Refrigerator Crescent Rolls
2  8oz packages of cream cheese softened 
3/4 cup of mayonnaise
1 package of dry ranch dressing mix
1-2 cups shredded cheddar cheese
1 red pepper
1 green pepper
1-2 cups of broccoli 


Grease a large baking sheet. Unroll the crescent rolls press all seams together. Make sure there is no open spots. I usually end up with 1 piece left of the 3rd roll, however 2 packages isn't enough.

 Bake as directed on the package. I usually bake mine for 11 minutes. When done baking set aside and let cool completely.


 In a large bowl combine the cream cheese, mayonnaise and dry ranch dressing mix with a hand mixer. 


Spread the cream cheese mixture on the cooled crescent roll crust.


 Add cheese


 and veggies.


 You can use any veggies you want. These just happen to be my favorite to use. Some people don't add the cheese but I like the cheese and the color of the peppers and broccoli. I hope you enjoy this recipe as much as we do here in the Fife house.


Mrs. Fife  

Sunday, November 2, 2014

Best and Easiest Fettuccine Alfredo Sauce EVER!!!!!!

The Best and Easiest Fettuccine Alfredo Sauce EVER!!!!!  I Promise!!!!!!


Remember I didn't say healthiest just easiest.


Really I've made this for years. It tastes just like Olive Garden's alfredo sauce but better.

Here is the cast of characters. Simple just a few things.


1 Pint of Heavy Cream (remember I didn't say it was low calorie or healthy)
1 Stick of Butter
2 Tbsp of Cream Cheese
3/4 Cup of Parmesan Cheese
1 Tsp of Garlic Powder
Parsley flakes = just for presentation if you have any on hand

In a saucepan combine the heavy cream, butter and cream cheese. If you don't like cream cheese don't worry. You really won't taste it because it is used to thicken the sauce and not add flavor.


 Simmer until the heavy cream, butter and cream cheese are melted. I like to make figure eights stirring the sauce but that is me and just something I like to do to pass the time. This isn't a sauce you turn on and walk away from.


 Add the parmesan cheese and garlic powder.


Simmer on low and continue to stir for 20 minutes. I tried this sauce with half and half but it isn't as good. It is healthier with half and half but it does lose some of the taste. I let everyone add salt and pepper to their own dish salt brings out the alfredo taste.


While this is cooking I cook my fettuccine noodles.


This is a rich sauce and since it isn't the healthiest I only make it a few times a year. It is usually a birthday dinner request.

I didn't have parsley flakes on hand this day but it does like pretty with a few sprinkled on top.


Try this super simple recipe. I love making it for a special night when my hubby and I decide to stay in and have a nice dinner for 2.

I put a little salt and pepper on my dish.

I hope you try this recipe and love it as much as my family does.

Mrs. Fife

Wednesday, August 6, 2014

Cream Brulee French Toast

We just got back from an amazing vacation in Tennessee visiting with family. I will write more about vacation in another post. We enjoyed some delicious, scrumptious, spectacular meals made by J.P. She truly is a wonderful chef and made every meal amazing. Here is one of the delicious dishes she made us for breakfast. Thank you J.P. for a wonderful vacation filled with so many memories. 

Cream Brulee French Toast

What you will need:
1 stick (1/2 cup) unsalted butter
1 cup packed brown sugar
2 tablespoons corn syrup
6-8 slices thick bread (no crust) Texas Toast works great 
5 large eggs
1 1/2 cup half-and-half
1 teaspoon vanilla 
1 teaspoon Grand Marnier
1/4 teaspoon salt

In a small saucepan melt butter with brown sugar and corn syrup over moderate heat, stirring, until smooth and pour into a 13x9 baking dish. Arrange bread slices in one layer in baking dish, squeezing them slightly to fit. Make sure there isn't any spaces. 

In a bowl whisk together eggs, half and half, vanilla, Grand Marnier and salt until combined well and pour evenly over bread. Place bread mixture in refrigerator and let it sit overnight. 

Preheat oven to 350 and bring bread to room temperature.

Bake bread mixture, uncovered in middle of oven until puffed and edges are pale golden about 35 to 40 minutes. 

Serve hot french toast immediately. A little sprinkle of powdered sugar adds a nice touch. This isn't a dish that is good cold or saved for later. 


Saturday, July 19, 2014

It's been awhile..........

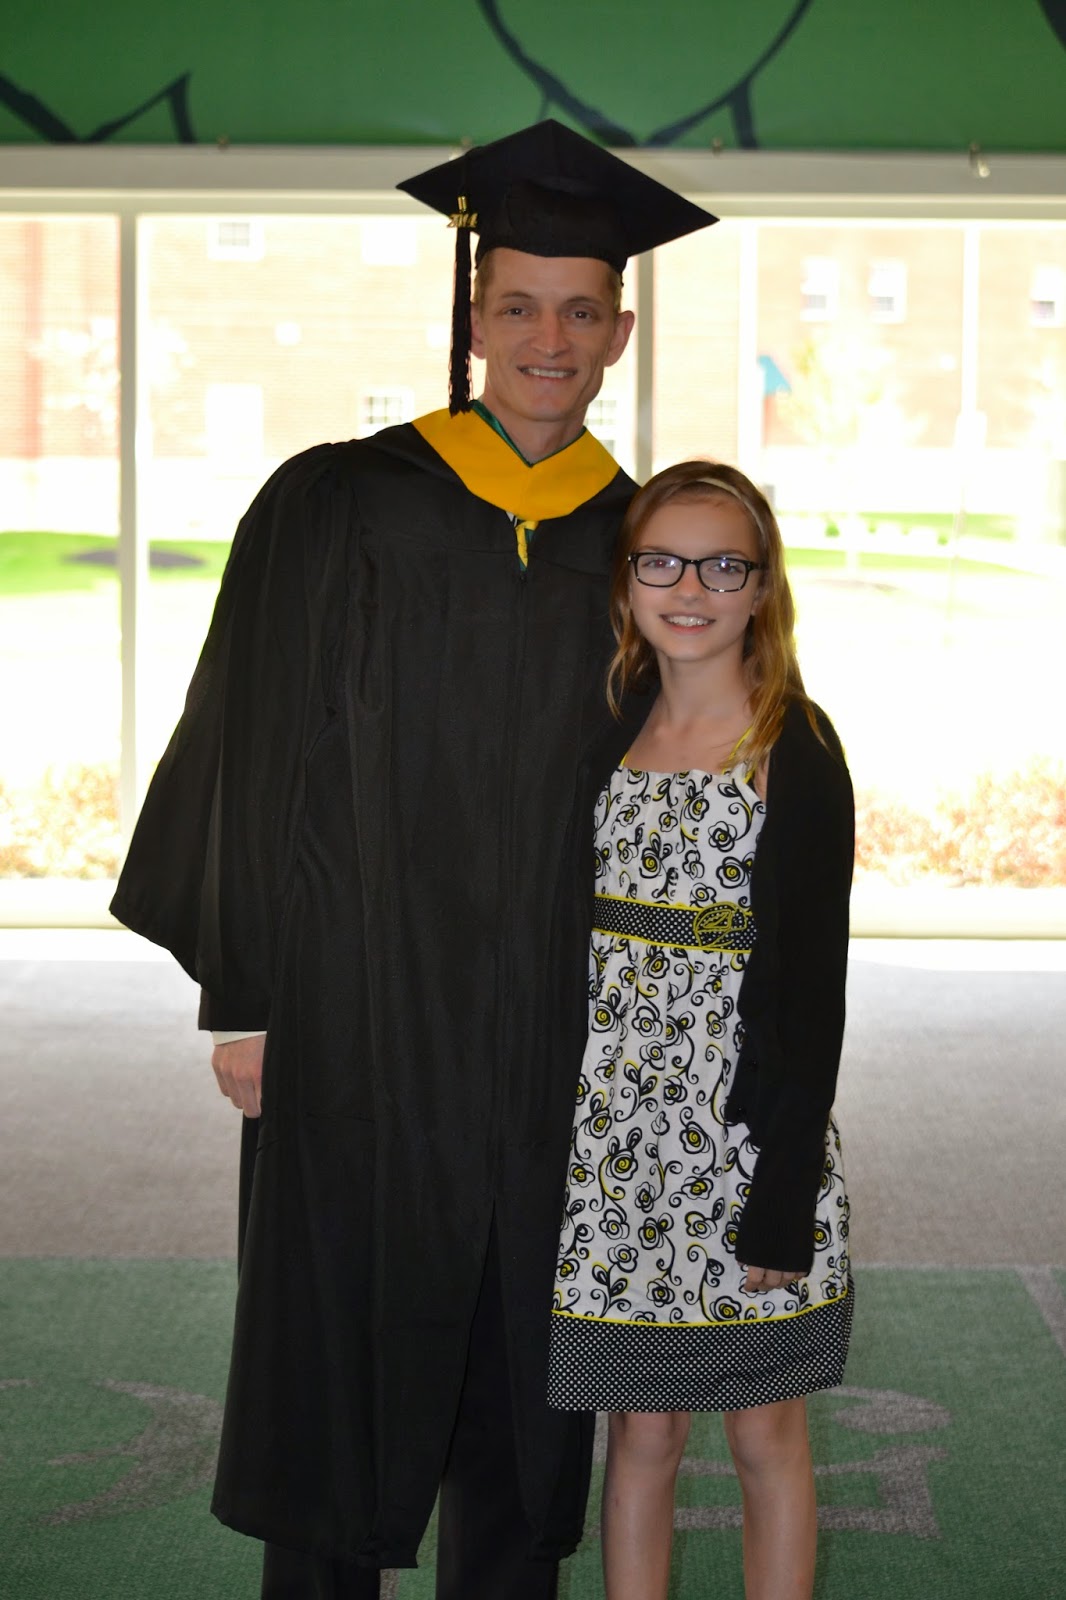
It has been so long since I posted on here. I'm sorry life has been so busy and we have been making so many memories. May was filled with some great events but Mr. Fife graduating magna cum laude with another degree was a highlight.


My husband who works full time plus overtime while attending college full time is amazing. Try saying that sentence 5 times fast. He sacrificed time with the kids, free time, missed family events, soccer games, baseball games, football games etc. I'm sure you get the point. He made a lot of sacrifices to earn another degree. 


To say I'm proud of him would be a huge understatement. He really put a great deal of time and hard work into this degree. 


It meant a lot for our kids to see him graduate, it was a good lesson for them about working hard and achieving your dreams. 


As you can tell I'm very proud and emotional about Mr. Fife and his accomplishments. Everyone is proud and sharing this moment meant a lot for all of us. My mom mentioned how proud she was to see him in his cap and gown. See I'm not the only one who gushes about Mr. Fife. 


I hope you are having a great summer and had a great end of spring.